What’s the first thing that comes to your mind when someone talks about a ‘glam makeover’? My thoughts scream ‘gold paint’! And when you combine fur with that metallic shimmer, the result is tres chic! Fur is trendy, luxe and adds warmth to any space.
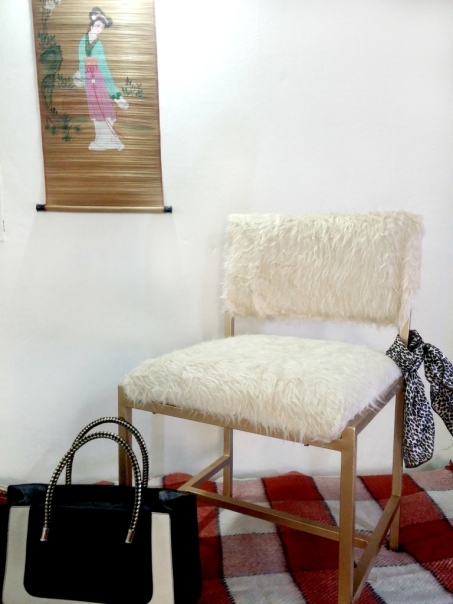
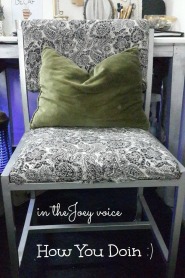
After brainstorming for a while I thought a great way to incorporate this uber-fab material into my decor would be adding it to my chair. This is the second time this chair got a face-lift. The first time I did it was when I wrote my first post and for about a year it stayed just the same. A few days back I found this awesome faux fur and that’s when I decided it was time for another makeover. The best thing about it is, unlike the usual fur, it’s not stark white and has the most beautiful golden hue.
This is what the chair looked like after the first makeover.
Supplies needed
- Faux fur
- All purpose glue or staples
- Gold spray paint
- Scissors
- Needle and thread
Steps
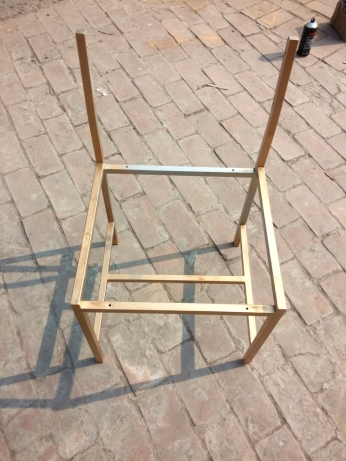
Let’s talk anatomy first. The chair has a backrest and a seat, held in a metal frame with screws. Fortunately, it has a very simple structure. Needless to say, this makeover would look best on metal chairs because we are aiming for a sleek look. Working with wood can be tricky and might take a little extra work.
I started with removing the screws and the cushions, leaving just the frame.
Then I cleaned the frame with a damp cloth, making sure I got a smooth, dust-free surface to work with and then spray painted it. Same old drill for the paint; two to three light coats, giving each coat enough time to dry.
While the paint dried, I worked with the backrest and seat.
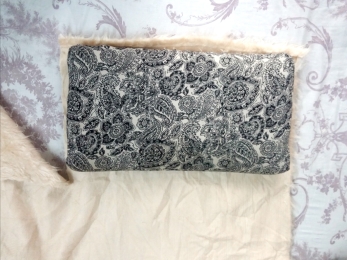
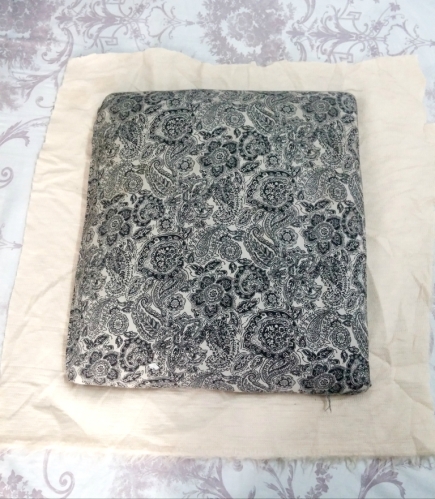
I placed the backrest on the fur and cut it accordingly, leaving a 1-inch margin all around. The piece should be big enough to cover both sides.
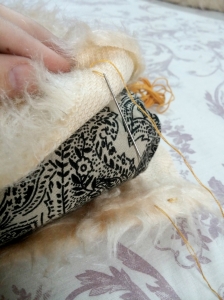
After wrapping the fabric, I stitched the edges together and pulled the thread tightly to hold them in place.
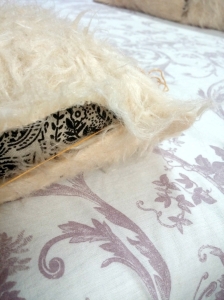
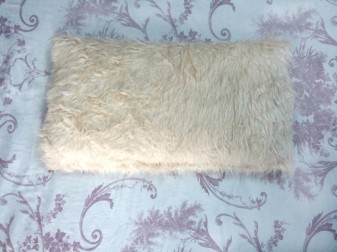
After stitching all three sides (fourth is the line along which I folded the fabric) this is what the backrest looked like.
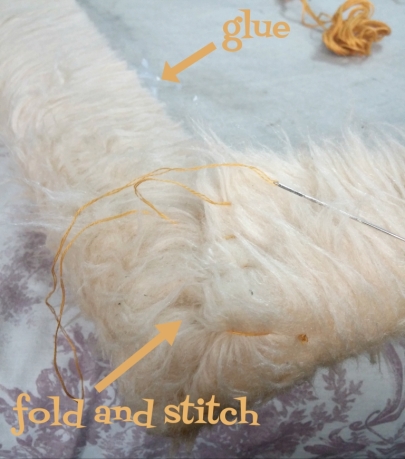
Then, I cut a piece for the seat but instead of covering it completely, I folded the edges and glued them under the base. Instead of glue you can also use staples. The corners sort of fanned out at this point, so I folded and stitched them like you can see below.
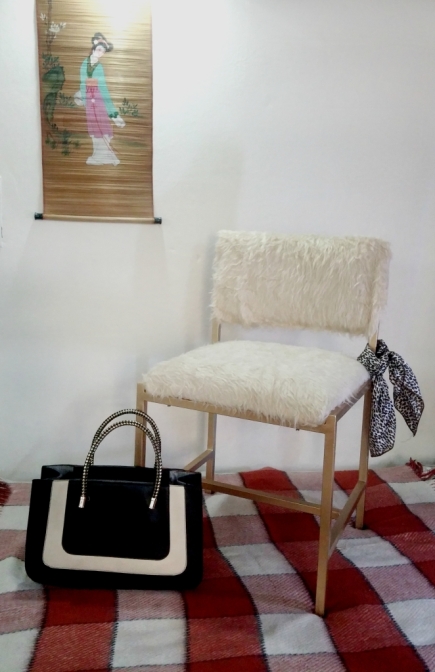
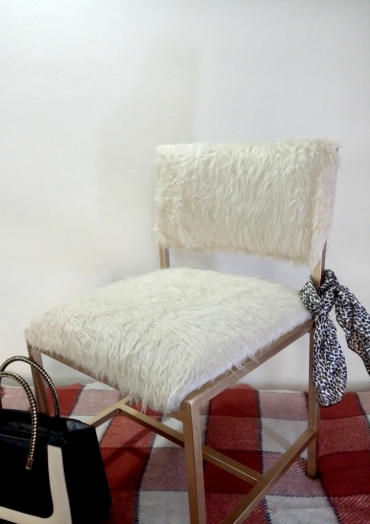
Once I was done covering the cushions with the faux fur I put the whole thing together.
Now, my chair gets to do some modeling!
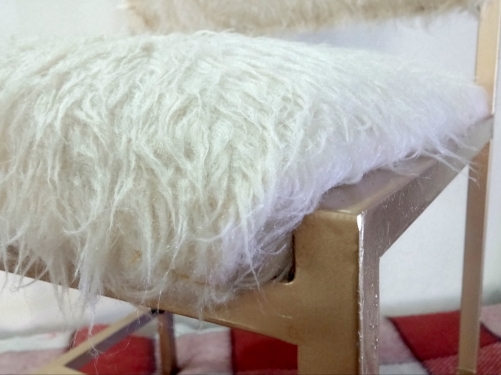
So fluffy I’d die!!
I am head over heels in love with it. The chair makes a great focal point in the room and no one can guess how easy the transformation was.
So rush to your nearest crafts store and jazz up an old chair to get this million buck look!
Till next time!

Sweet project 🙂 I prefur to wear to wear mine + got a couple meals out of it 😉

LikeLiked by 1 person
Haha! Try making stuff out it this time. 🙂
LikeLiked by 1 person
Wow this is so cool!
I didn’t see the picture earlier there was some problem with the connection.
LikeLiked by 1 person
Awesome!Well done Agnes 😀
LikeLike
Thank you Aditi! You’re too kind. 😀
LikeLiked by 1 person
😀
LikeLiked by 1 person